Sunday, November 24, 2013

The Honey Cowl + New Hair

This Honey Cowl just came off my needles and I didn't wait to wear it. It's so lovely and soft! The yarn is Madelinetosh Rios from my local yarn shop that just closed. Boo. The pattern is the honey cowl - it's free - start making one today, you won't regret it. My husband happily obliged and took some photos of me wearing it today while we played in the Olympics.


Honey Cowl

Oh - and about the hair. It's a new color for me and I'm loving it! I've always wanted to put some red in my hair and I've always been too scared - until now. 

View from the top!

We have a tradition of cutting down our Christmas tree the weekend after Thanksgiving in the Olympics every year. Since we will be visiting my parents for Thanksgiving this year and I work every weekend up until Christmas we decided to get it today. I'm so happy we did. It was a gorgeous day in the mountains. We had blue skies with just a dusting of snow on the ground (Wyatt was a bit disappointed that there wasn't more snow). The kids had a great time and so did the adults!


Eating Snow!

Licking the snow from her fingers!

Friday, November 15, 2013

Purple Sparkly Bimaa

Happy Friday! Remember a while back when I said I was going to make a Bimaa Sweater for Sage? Well it's done.


This was seriously one of the easiest things I've sewn in a while. It took a bit to figure out what direction the cowl part needed to be to attach to the sweater but after that it was done. I sewed a size 5T for Sage so it wouldn't be too tight and she could wear a t-shirt underneath in case it was a little itchy. I love the way it turned out. Now I'm just wondering when I can get the pattern in my size???

 Back view
I found this knit in the clearance section at JoAnns. It's really stretchy and has some tiny silver sparkles in it. I can't wait to make a few more of these. This pattern is awesome. It has the option for a hood or shawl neck instead of a cowl. I have some neutral knit fabric that I might try next. I thought it would be fun to stencil something fun on the front. Stay tuned...


Perfect for playing hide-and-seek!

Sunday, November 10, 2013

Wyatt's Room Re-Do

This re-do is seriously overdue. It all came to a head last week when I found myself super frustrated with Wyatt for not cleaning his room. It was then that I realized that he didn't have any good options on where to put all of that stuff that young boys collect. I needed to do something to help him and his disaster of a room. So when he left for the weekend to go hunting with Daddy I headed straight to IKEA with all the measurements I needed (SO glad I thought of this before I left the house!). Wyatt's room has this awkward little cubby/nook and I found a tall bookshelf that fills the space perfectly. All of his books fit on it plus most of his stuffed animals (that he refuses to minimize). I did away with his side table and moved his bed next to the new bookshelf where I put his lamp.

Before: Middle of re-arranging, excuse the mess!

Before: The awkward cubby

Before: The awkward cubby with too small shelf.

After: The nook with new bookshelf.


The other new addition was a desk. A school boy needs a desk. I've been casually looking around since the summer for a small child size desk. I thought maybe I could find one at a garage sale and update it for him but I never found anything that great for the right price. This new desk matches the bookshelf and it's the perfect size for a young child. Also - it has a magnetic white board hutch that fits on top of the desk. This gives just a little more storage, plus trophy display area, and it's perfect for the kid who likes to display his art/signs/warnings/notes all over the wall. Now he has a specific place for that.

After: New desk!
After: Desk

The room re-do wouldn't be complete with out a little DIY. And by little, I really do mean little (as long as you exclude the hours it took to assemble the furniture solo). I glued some of Wyatt's toy dinosaurs to some magnets and - Voila! Cute and functional for the boy. Less than 5 minutes.
DIY dino magnets

I've got a few things left to finish - like bolting that tall shelf to the wall and adding a little over head light to the top. But the other DIY I'm hoping to complete soon is a upholstered headboard. I already have the fabric - some camo Wyatt picked out a while ago (shocking, right?). Now I just need the hubby to cut me a piece of wood and I'll be ready to start.

I always struggle with putting things on the wall. I like to have artwork/ pictures up but I feel like I'm too picky and so I just do nothing. What do you think should go on the walls in here?

Thursday, October 31, 2013

Big Girl Bed & More

I've been sitting on this project for a while now and finally got it done. I feel like Sage's room is complete...for now. I found a head board and foot board at a local thrift shop but it didn't have any rails. Thankfully I have a super handy father-in-law who is always willing to help me with my projects. He mad a simple frame that we then screwed to the headboard and foot board. This is after I painted it all white, which is really what took me so long to finish this! Unfortunately I don't have any before pictures of the bed but I do have before pictures of Sage's room. Here goes:

Sage's Room Before

After: New Bed

There are a lot of things in Sage's room that I DIY'ed over the last few years and just never blogged about. So here is a little breakdown:
The paper butterfly banner is leftover from her last birthday party. I punched out a pile of paper butterflies and sewed them all together.


 The dollhouse was Sage's 3rd birthday present from her dad and I. It was built using Anna White's plans, modified to be a bit smaller. Dennis did most of the building and I did most of the painting.


This little side table was a thrift store score that I painted red.


Thrift store embroidery hoops filled with some of my favorite fabrics.


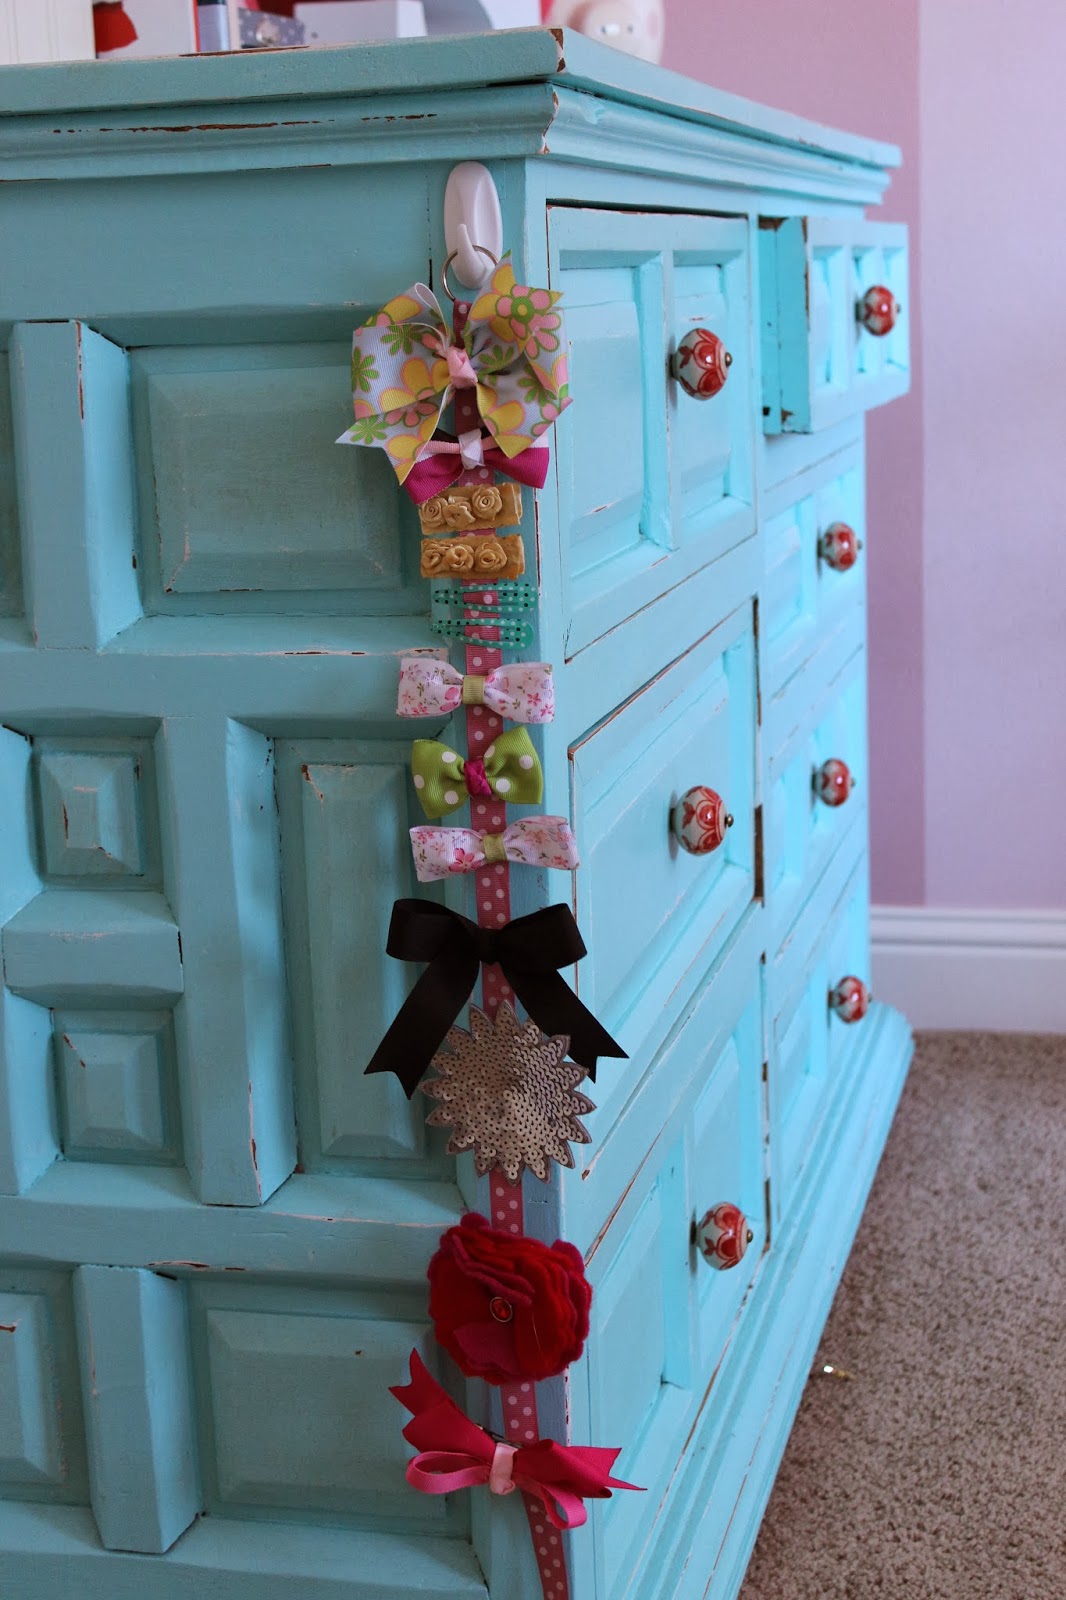
A super simple ribbon to hold all her hair bows.


I love how fun and bright her room is with the pink, red and turquoise!


Sunday, October 27, 2013

Sunny Sunday Scarf

Okay, seriously - this scarf took maybe 20 minutes to make. I followed this little tutorial and then ran outside to take some pictures before the sun set (who knows when we will see it again!). I love to accessorize with bright pops of colors since I tend to wear a lot of black and neutrals. And yellow screams fall to me.


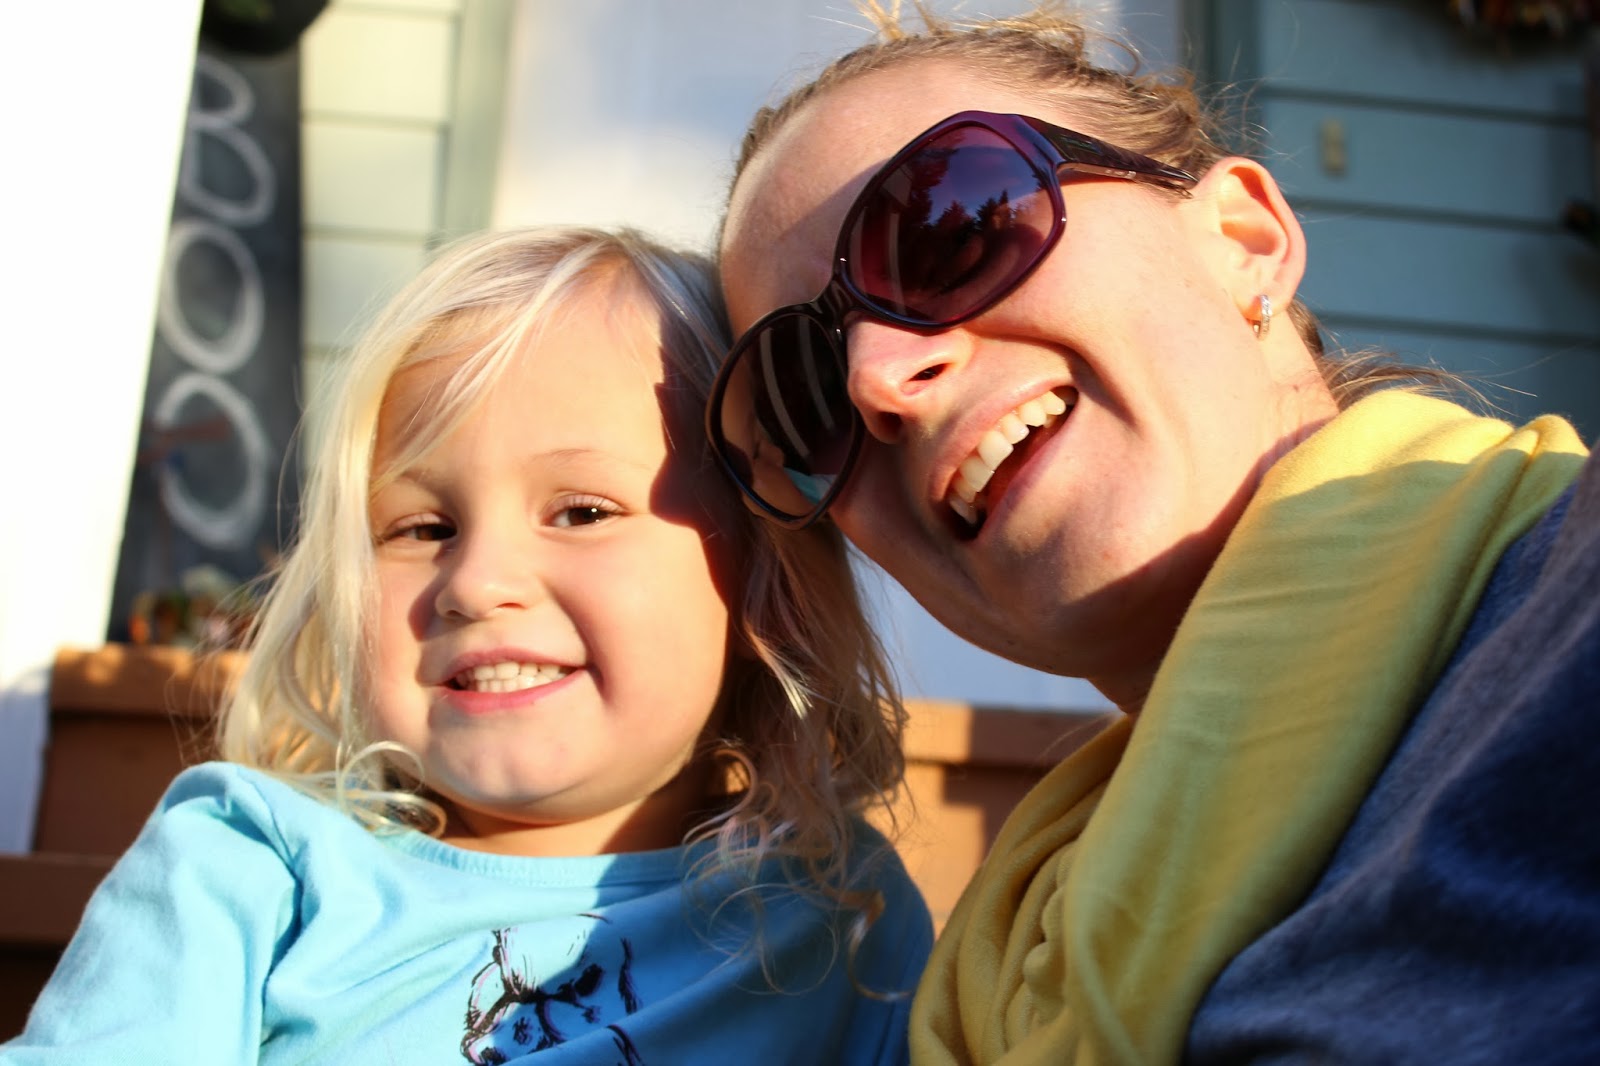
 Side note - please excuse the pictures. I'm still learning to use my camera and well, it's not easy to take pictures of yourself when no one but your 3 year old is around to help. But hey - not bad for a little girl, right?

 The scarf can be wrapped either 2 or 3 times or left long but I like it best wrapped twice.


My little big helper


Project Pile

Today was a gorgeous Sunday here, a perfect Fall day. I spent most of the weekend alone with my little girl, which was really fun. We went to the movies and out for ice cream on Saturday and Sunday we went swimming and made a trip to the fabric store. With the promise of a sewing play date coming up this week, I figured I needed to stock up on some new project materials. The little pile on my desk is really quite lovely and I can't wait to dig in! I am feeling inspired and ready to get some sewing done. Which is exactly what happened on this beautiful, windy Sunday.


I'm not quite sure yet what everything will turn into but as of now, here is my plan:
*The purple sparkly knit might turn into a Bimaa Sweater for Sage (and dang - how come this pattern isn't in my size???)
*The linen on the bottom is going to be a skirt for me... it's in progress, look for the post soon.
*The yellow knit is so soft - perfect for an infinity scarf. And maybe I'll make a second one with those yellow mini pom-poms I couldn't resist.
*That cream silk on the top was just brought back from France and it's likely to be another SeaFarer Top. I've made 3 so far and I love the fit - it's perfect. I'm a terrible blogger for not sharing a single one with you! Soon...
*That floral might be another Sally dress for Sage or a top for me. I like the Staple Dress and also the Tova but I'm still undecided. Luckily, I've got plenty of projects to work on while making up my mind.


Wednesday, October 23, 2013

School Day's Jacket

I love Oliver & S patterns. They all look so clean and simple and the instructions are always clear and easy to follow. I have to admit that I was intimidated to make this jacket. I bought the fabric and pattern back in October of 2012. And it sat and sat. The pattern was size 6mo - 3T and so I knew that I needed to get on it if I ever wanted Sage to wear it.  I cut the fabric with a generous extra 1/2" all the way around since I was afraid it was going to be too small. But the pattern seems to be really generously sized and so I probably didn't need to add that extra fabric because now it's more like a 5T. (Seriously - it fits Wyatt.) But the upside to that is that she won't be growing out of it any time soon. The outside is wool and the lining is quilting cotton.


I love the pop of color on the inside and the wood toggle closure.


Sage is ready for Winter in the coat department. 
But I won't complain about more beautiful Fall days like today!